Andalib Shams
Graduate Research Assistant
Civil, Construction, and Environmental Engineering
Iowa State University
2711 S Loop Dr, Ames, IA 50010, USA
Phone: 307-223-6666
Email: ashams@iastate.edu
|
Home ||
Research ||
Resources
Data Analysis Environment setup
- Download Python- install miniconda. It is easy to organize and create clear environment using Miniconda (also does not require admin right to install).
-
Follow start menu → Anaconda 3 64-bit → Anaconda prompt.
-
Create an environment in the anaconda prompt by command. Here myenv is the environment name I have used.
conda create --name myenv
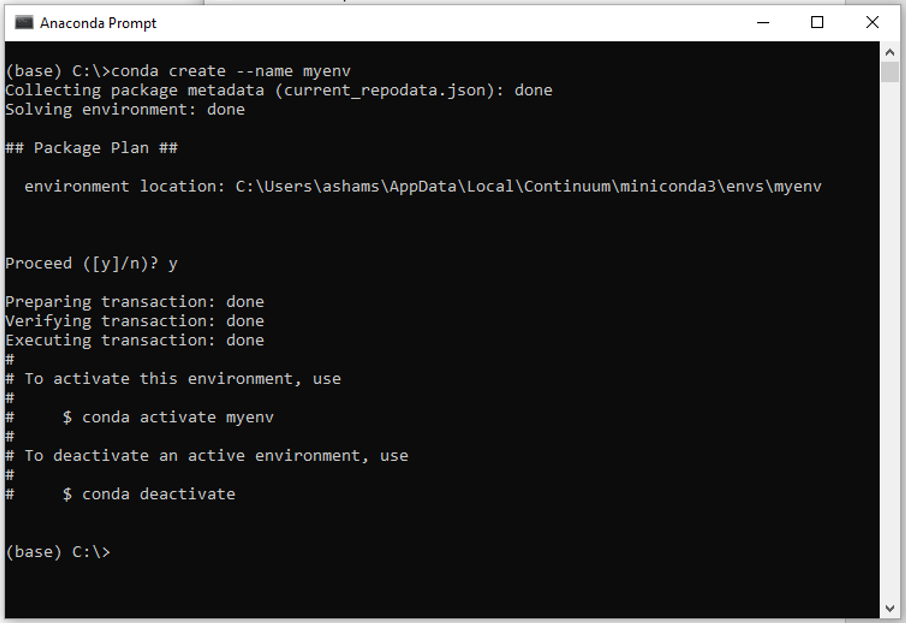
Creating environment ensures that in future if we install different version of python, the current environment will not conflict with the future python version. So, we don’t need to bother with compatibility issues.
-
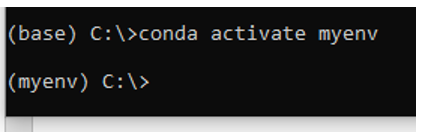
Now we need activate ‘myenv’ by command-
conda activate myenv
-
Install numpy package into myenv- (numpy package is helpful to handle n-dimensional array)
conda install numpy
Install panda package into myenv- (panda is a data analysis and manipulation tool. )
conda install -c anaconda pandasInstall matplotlib package into myenv- (Matplotlib is a data visualization library for python )
conda install -c conda-forge matplotlib-
I personally prefer jupyter lab instead of the notebook version. In jupyter lab, we can output images in new window, and simply holding alt+click takes us to function definition. I like these features.
conda install -c conda-forge jupyterlab
Open Jupyter lab
-
Follow start menu → Anaconda 3 64-bit → Anaconda prompt.
-
Anctivate environment "myenv"
-
just type "jupyter lab" and hit enter. Jupyter lab will open in a browser.
|